This article will describe the steps for a Provider to configure Bobsled access to an Azure Blob Storage container to be used as a source in Bobsled.
Prerequisites
To configure Bobsled access to the container, your account must have permissions to consent to applications and assign roles in Azure:
The Bobsled Azure Application requests the minimal permissions and, by default, does not require admin consent, meaning all users of an organization’s tenant should be enabled to register the Bobsled Azure Application. However, please note that a user's ability to consent to our application may be subject to the organization’s tenant policies and configurations. If a permissions error occurs, please contact your Azure AD administrator.
An account with Owner privileges at the appropriate level (subscription, resource group, or storage account) can assign an application with roles.
Setup instructions
Step 1: Consent to Bobsled Azure Application
To consent to the Bobsled Azure Application, contact an account owner with the appropriate permissions in the Azure tenant in which your source data resides. If you have the appropriate permissions already, you can either:
Consent in the Bobsled App or,
Consent programmatically.
Option 1: Consent in the Bobsled App
From the three-line menu in the top left corner, select Data sources.
Click Add Source.
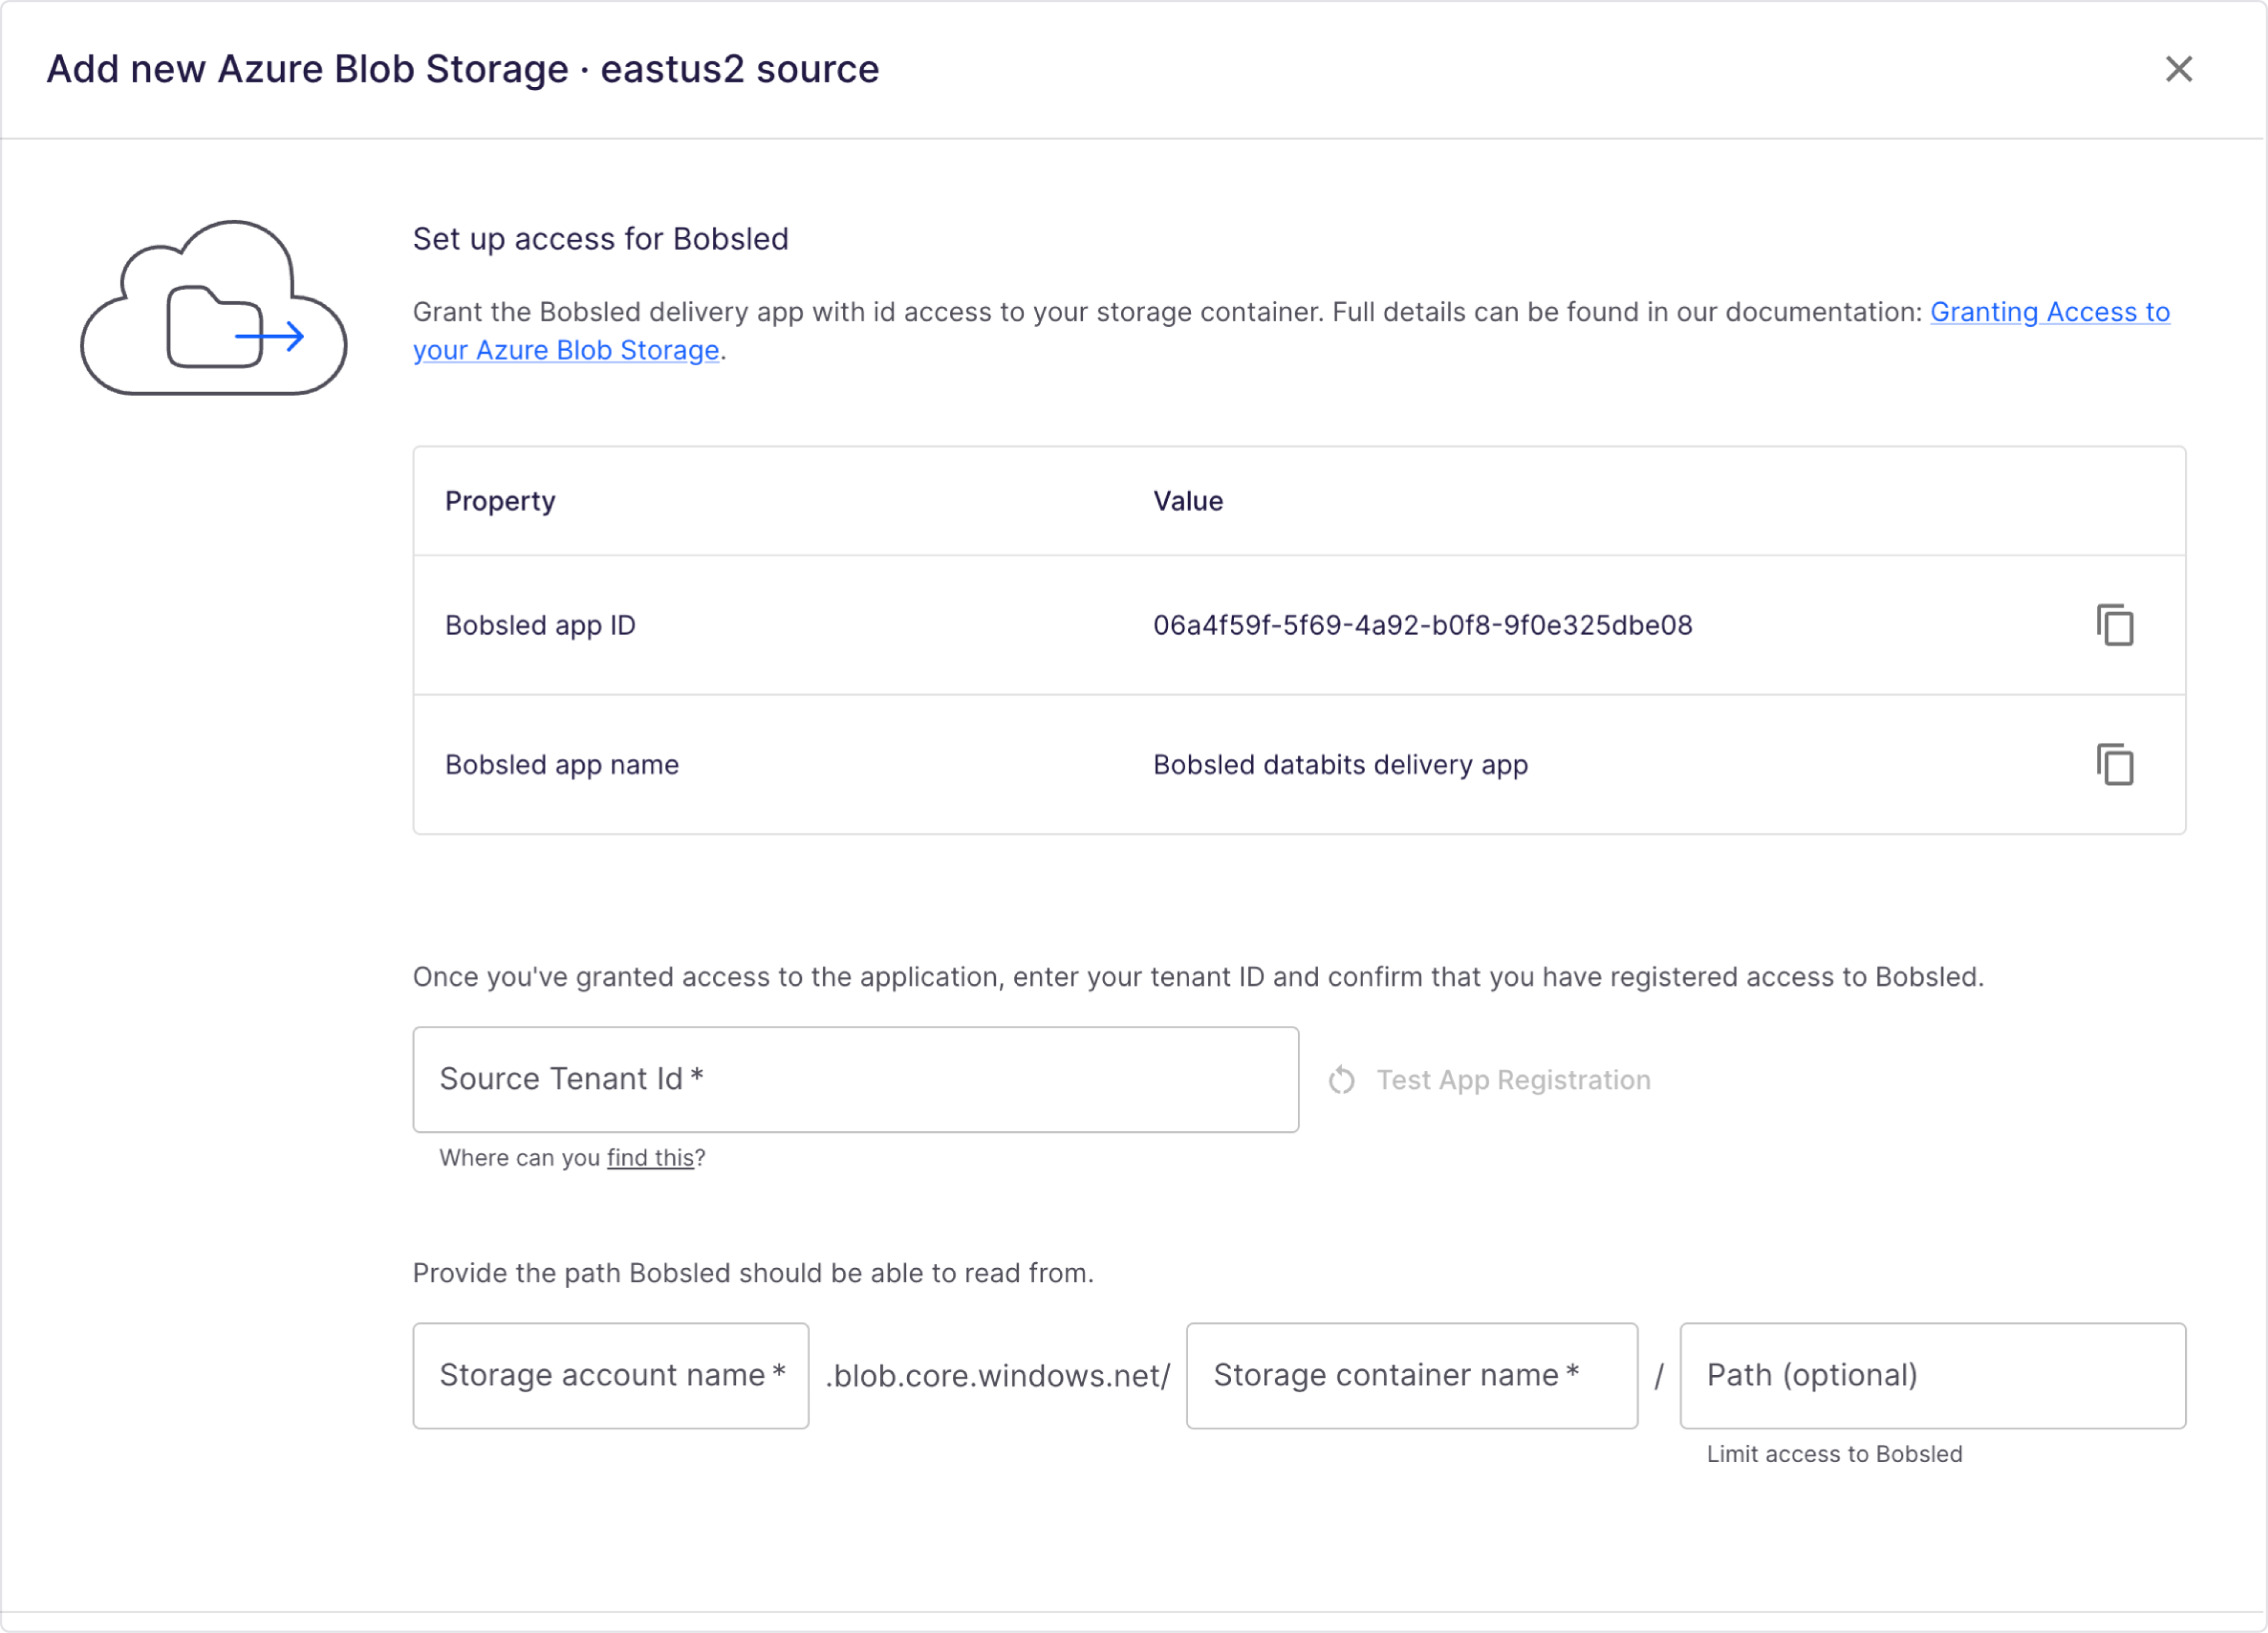
Enter a human readable name to describe the source.
Select Azure Blob Storage and the region of your source bucket. Click Continue to move to the next step.

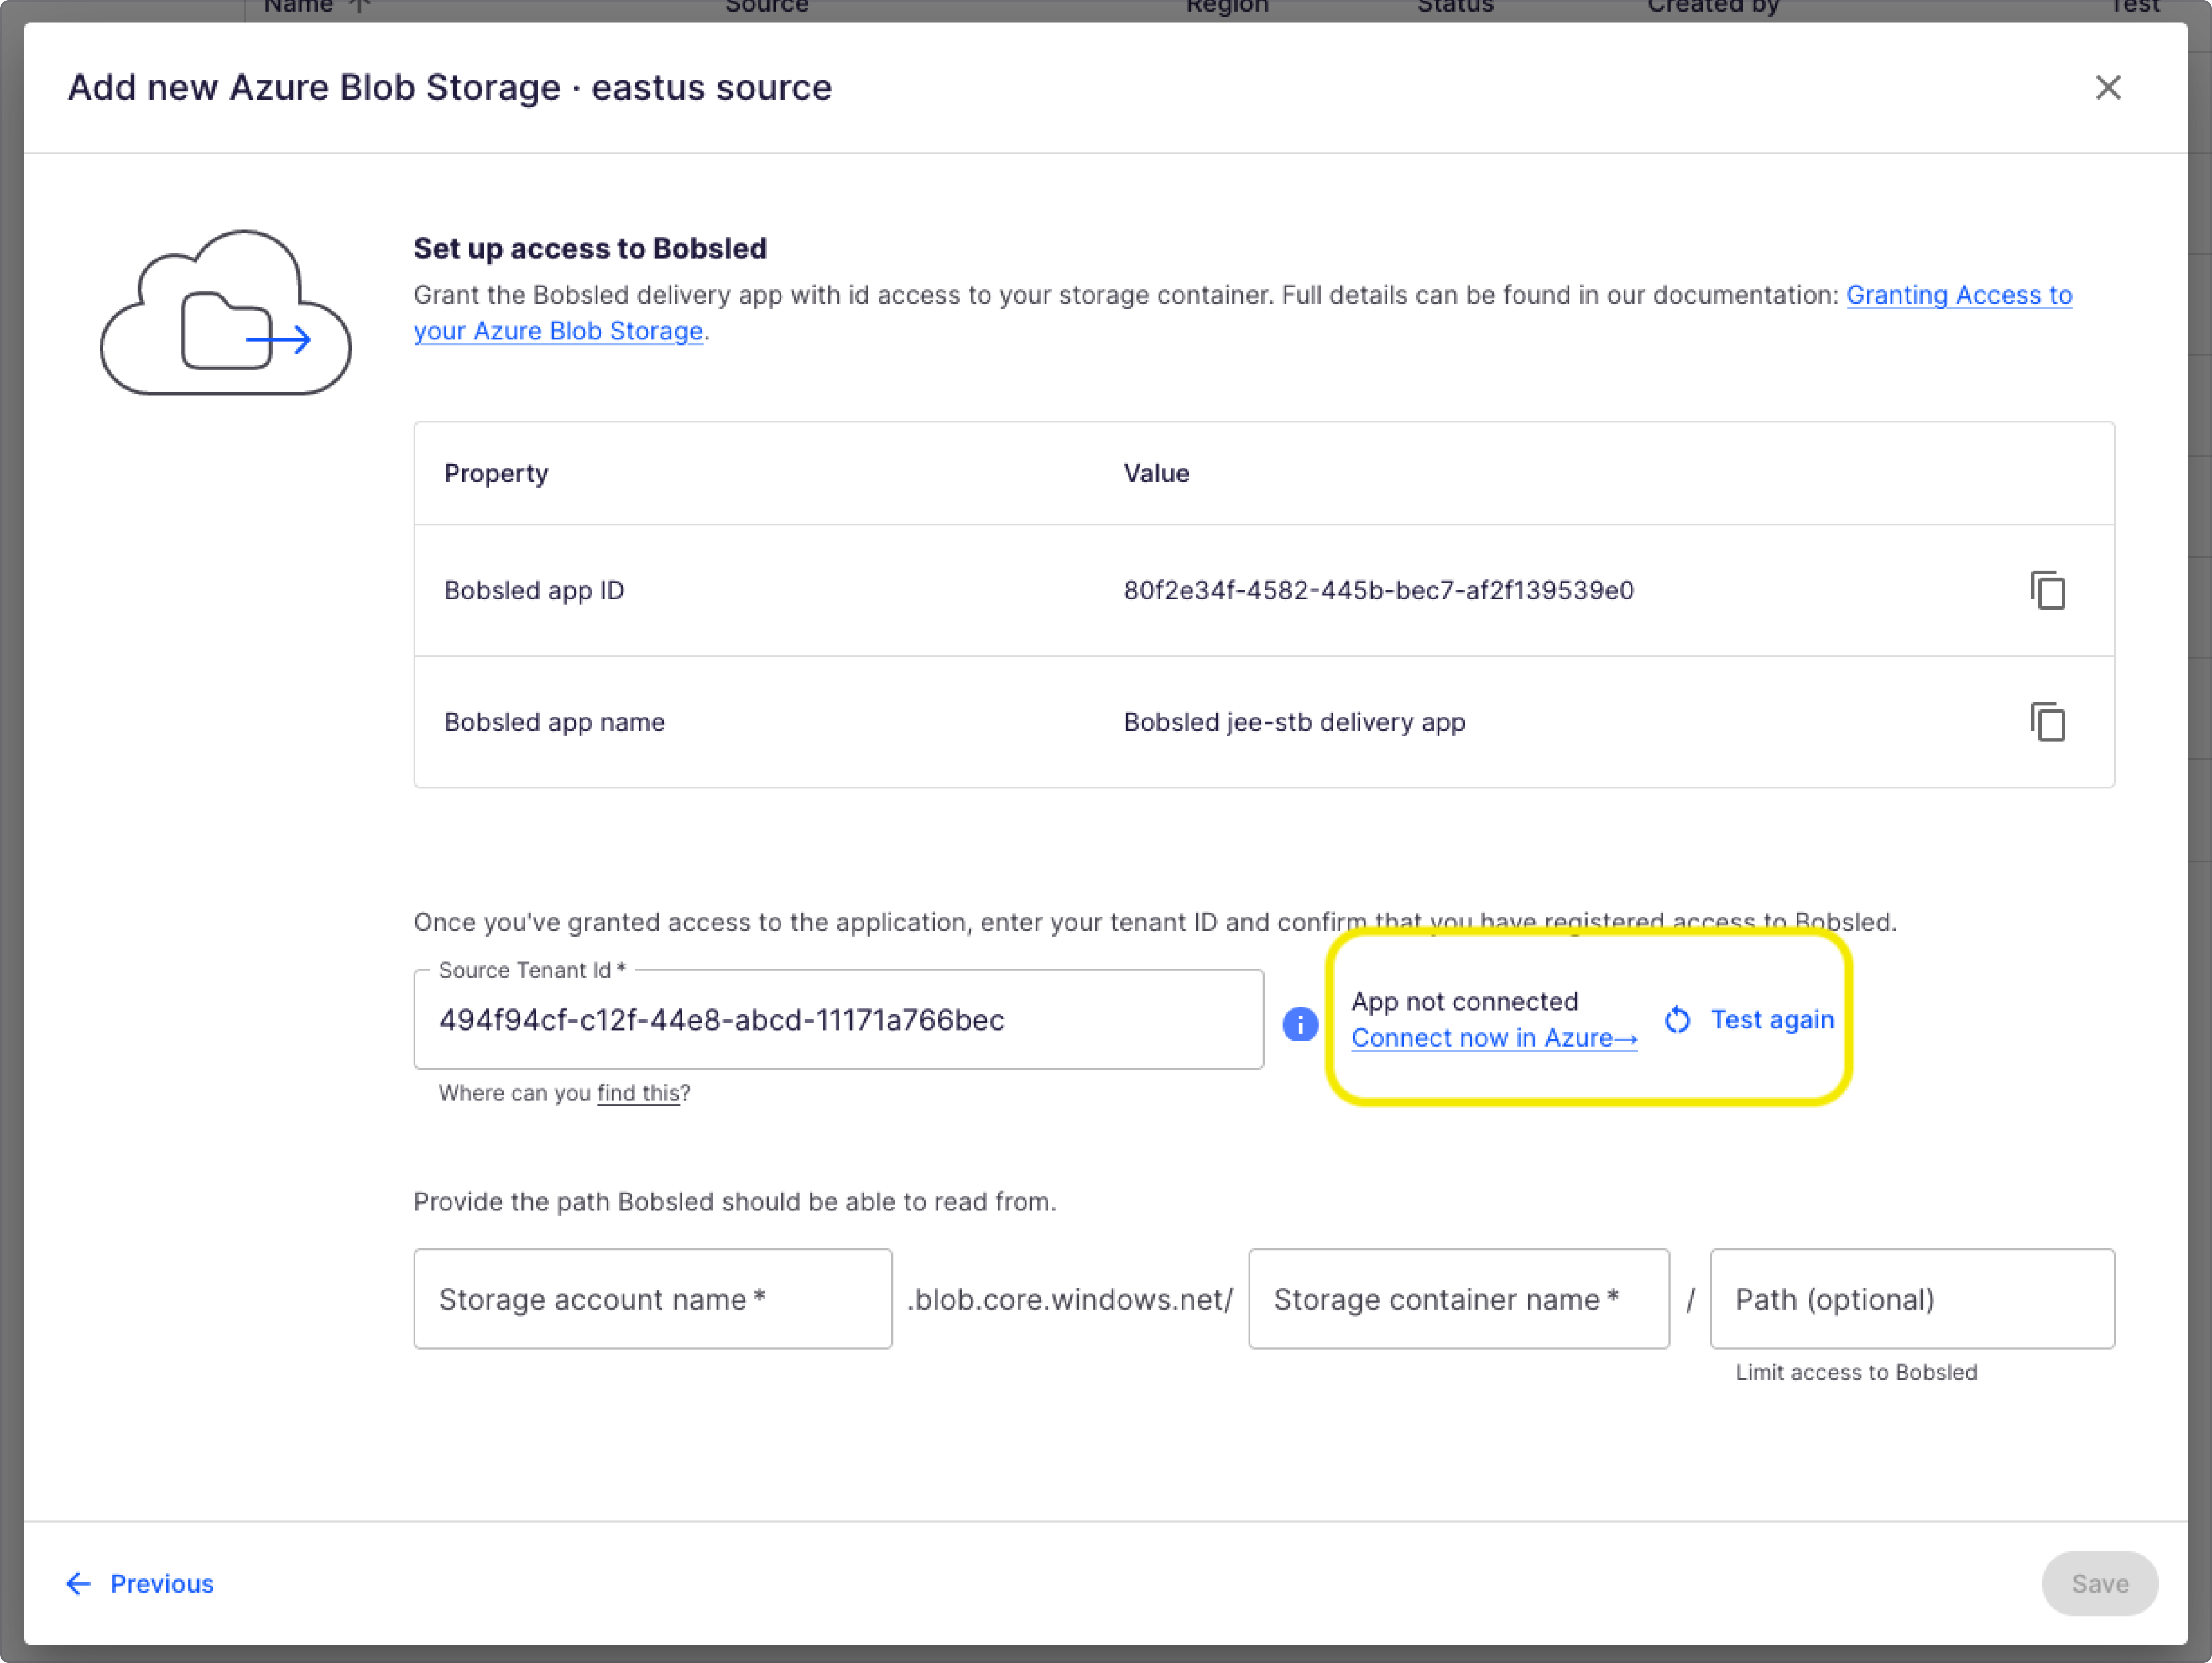
Enter the Source's Tenant ID where your container resides. Press the Test App Registration button.
Click the link provided. Note that the the link will open in the next tab.

Press "Accept". You will be navigated back to Bobsled. You may close this window and return your initial tab.
NOTE:
If the Bobsled Azure Application is already registered in your tenant, you will receive a “Bobsled app is connected!” message.
Option 2: Consent programmatically
If you would like to consent to the Bobsled Azure Application programmatically, please run the following script in the Azure CLI:
az ad app permission admin-consent --id <Bobsled App ID>Step 2: Assign Bobsled Azure Application access to source
In the following steps, please replace the fields with the Bobsled app ID, your subscription, resource group name, storage account and container name. To find the Bobsled Application ID in the Bobsled UI, please follow the steps in step 1 via the Bobsled App.
You can Assign Bobsled Azure Application two ways:
Assign programmatically or,
Assign using the Azure Portal.
Option 1: Assign roles programmatically
Assign Storage Blob Delegator to storage account level
az role assignment create --assignee {Bobsled App ID} --role "Storage Blob Delegator" --scope "/subscriptions/{subscriptionID}/resourceGroups/{resource group name}/providers/Microsoft.Storage/storageAccounts/{storage account name}"Assign Storage Blob Data Reader to container level
To allow Bobsled to access entire containers:
az role assignment create --assignee {Bobsled App ID} --role "Storage Blob Data Reader" --scope "/subscriptions/{subscriptionID}/resourceGroups/{resource group name}/providers/Microsoft.Storage/storageAccounts/{storage account name}/blobServices/default/containers/{container name}"To allow Bobsled to access a folder within a container:
Please note the/after the folder is required.az role assignment create --assignee {Bobsled App ID} --role "Storage Blob Data Reader" --scope "/subscriptions/{subscriptionID}/resourceGroups/{resource group name}/providers/Microsoft.Storage/storageAccounts/{storage account name}/blobServices/default/containers/{container name}" --condition "((!(ActionMatches{'Microsoft.Storage/storageAccounts/blobServices/containers/blobs/read'} AND SubOperationMatches{'Blob.List'})) OR (@Resource[Microsoft.Storage/storageAccounts/blobServices/containers:name] StringEquals '{container-name}' AND @Request[Microsoft.Storage/storageAccounts/blobServices/containers/blobs:prefix] StringStartsWith '{folder-name}/'))"
Option 2: Assign roles using the Azure Portal
In the following steps, you will need the Bobsled App name. To find it in the Bobsled UI, please follow the steps in step 1 via the Bobsled App.
Assign Storage Blob Delegator to storage account level
In the Azure Portal, navigate to “Storage accounts”. Select the storage account in which your source container resides
Select Access Control (IAM) > Add role assignment
Search for the role “Storage Blob Delegator”. Select the role and press Next.
Under Members, select “User, group, or service principal”
Click “+ Select members”. Enter the
Bobsled App nameSelect “Review + assign” to assign role
Assign Storage Blob Data Reader to container level
In the Azure Portal, navigate to “Storage accounts”. Select the storage account in which your source container resides
Under Data storage, click “containers”. Select your container.
From the sidebar, select “Access Control (IAM)”. Select “Add role assignment”.
Search for the role “Storage Blob Data Reader”. Select the role and press Next.
Under Members, select “User, group, or service principal”
Click “Select members”. Enter the
Bobsled App name.
Limit access to specific folder (optional)
The following steps are applicable only if you would like to limit access to a specific folder within your container:
Select “conditions”. Set the Editor type to “Code”.
Paste in the following code. Please replace
<container-name>and<folder-name>with the correct values. Note that the '/' after the folder name is required.( ( !(ActionMatches{'Microsoft.Storage/storageAccounts/blobServices/containers/blobs/read'} AND SubOperationMatches{'Blob.List'}) ) OR ( @Resource[Microsoft.Storage/storageAccounts/blobServices/containers:name] StringEquals '{container-name}' AND @Request[Microsoft.Storage/storageAccounts/blobServices/containers/blobs:prefix] StringStartsWith '{folder-name}/' ) )Click Save to save the condition.
Select Review + assign to assign role
Step 3: Finish source configuration in Bobsled
After having granted Bobsled access correctly:
Enter the
name of the storage accountandcontainer. Optionally, you may also include thepathat the root of your source.Click Save
Once you’ve successfully configured your Source, you can add it to a Share, choose a Destination, and a create a transfer to start sharing your data.